Enhance your astrophotos with stellar results? Discover the significance of image processing and learn the methods to implement it effectively.
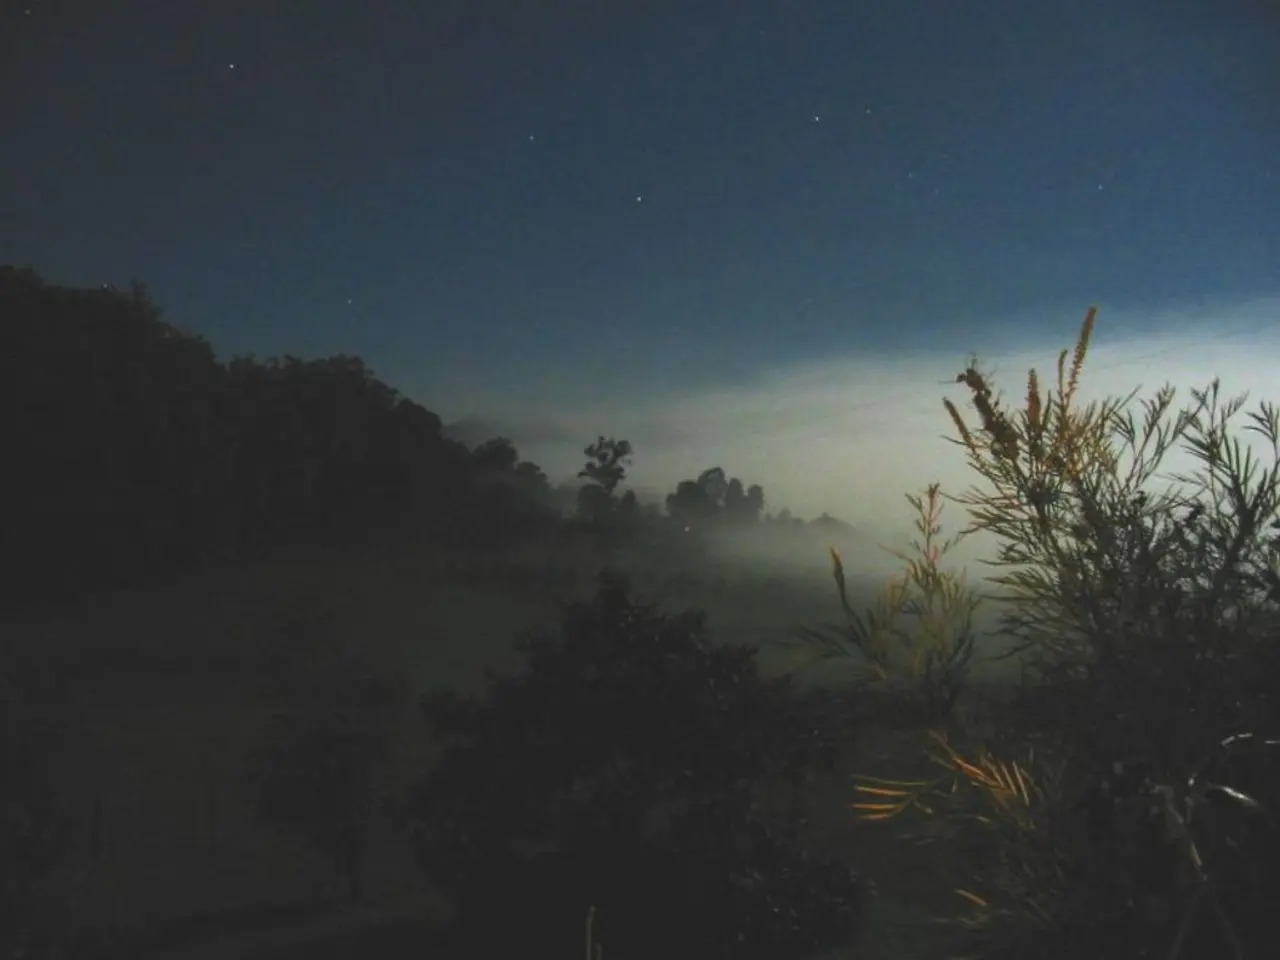
In the realm of astrophotography, capturing the beauty of the night sky is an enchanting pursuit. From the Milky Way to noctilucent clouds, moon sequences, and even the aurora, nightscape photos offer a unique perspective on the cosmos.
To begin, it's essential to understand the process of image processing, using computer programs such as Adobe Photoshop or GIMP to enhance digital images. For deep-sky astrophotography, cooled CMOS or CCD cameras are often the preferred choice, and long focal length cameras or telescopes are best suited for the task. A T-ring and adaptor are necessary to use a telescope with a DSLR.
When it comes to camera settings, manual mode is the way to go. A wide-open aperture, typically around f/2.8 or lower, allows for better light gathering. Shutter speeds of about 20 to 30 seconds are ideal for capturing enough stars without noticeable trails, depending on the focal length. ISO settings should be between 1600 and 3200 to brighten the image while balancing noise. Focus should be set to manual, with the lens set to infinity or fine-tuned via live view. Shooting in RAW provides maximum post-processing flexibility. A wide-angle lens, such as 14mm to 24mm, is useful for capturing a broad sky panorama. A sturdy tripod is necessary to hold the camera steady during long exposures.
Additional tips include shooting on a very dark night (new moon) far from artificial lights and using techniques like stacking multiple exposures with dark frames to reduce noise and improve detail.
Once the images are captured, processing is key. Nightscapes often require just a minor stretch to the light curve in Adobe Lightroom or Photoshop, using the sliders rather than specific or niche settings. The Median filter in Photoshop dims background stars and increases the impact of nebulae, while the High Pass filter allows you to bring out further details from your deep-sky object.
For deep-sky imaging, calibration frames (darks, bias, and flats) are an integral part of processing. Two popular stacking programs for deep-sky imaging are Sequator and DeepSkyStacker (DSS). Stitching images together for a Milky Way mosaic or panorama requires software such as Microsoft Image Composite Editor (ICE). If a star tracker or a tracking mount that moves with the sky is used, it's possible to do tracked nightscapes, which allow for longer exposures that capture fainter stars.
When stitching frames together for a lunar or planetary mosaic, it's important to get the order of the software right: first stack in AutoStakkert!, then upload to ICE, and finally upload the full mosaic image into RegiStax. The Wavelets function in RegiStax sharpens and emphasizes detail.
For those interested in creating star trails, the '500 Rule' can be used to find out the approximate exposure time before stars stop looking sharp. Star trails are made up of multiple merged images, each of around 30- to 60-second exposures. Longer exposures mean ISO levels need to be managed carefully. The free-to-use software Startrails allows you to merge your images to create star trails.
In conclusion, capturing stunning nightscapes in astrophotography requires a combination of the right equipment, camera settings, and processing techniques. With patience and practice, you too can create breathtaking images of the cosmos.
- In astrophotography, image processing with computer programs like Adobe Photoshop or GIMP is crucial to enhancing digital images, particularly for deep-sky astrophotography.
- For deep-sky and wide-field imaging, telescopes or long focal length cameras, combined with cooled CMOS or CCD cameras, are commonly used to capture galaxies, nebulae, and other celestial bodies in the night sky.
- To maximize the light gathered and minimize star trails, nightscape photos should be shot in manual mode, with a wide-open aperture, approximately 20 to 30-second shutter speeds, and ISO settings between 1600 and 3200. Manual focusing to infinity and RAW format are also recommended.
- Calibration frames, such as darks, bias, and flats, are essential for deep-sky imaging processing. Using software like Sequator, DeepSkyStacker (DSS), or Microsoft Image Composite Editor (ICE), images can be calibrated, stacked, and stitched together to create stunning nightscape mosaics or panoramas.


